Hey there! As a supplier of biaxial geogrids, I get a lot of questions about installing these nifty products, especially in curved areas. So, I thought I'd put together this blog post to walk you through the process step by step.
Why Biaxial Geogrids?
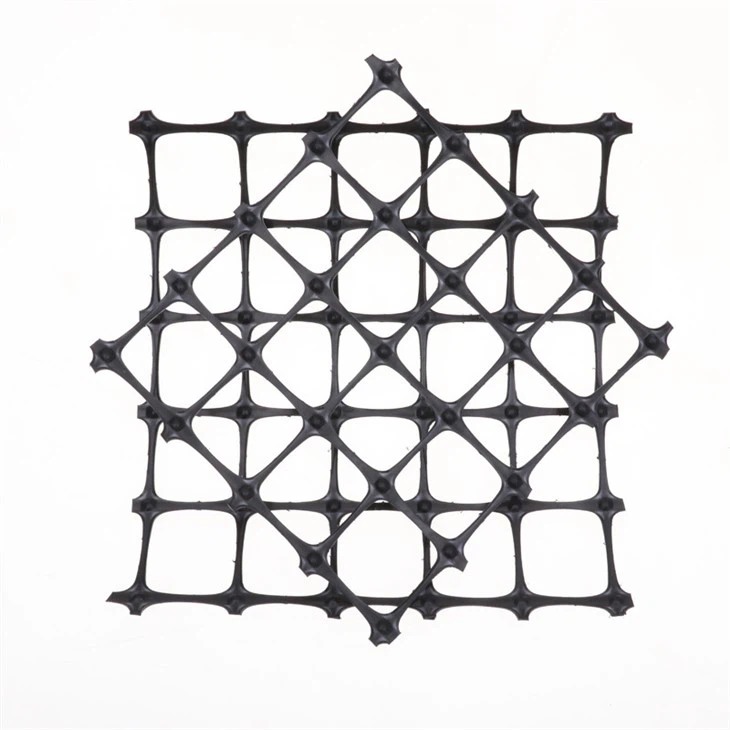
First off, let's talk a bit about why biaxial geogrids are so great. These grids are designed to provide reinforcement in both the machine and cross-machine directions. They're used in a wide range of applications, from road construction to slope stabilization. They help distribute loads more evenly, reduce soil movement, and increase the overall stability of the structure.
We offer different types of biaxial geogrids, like the Steel-plastic Composite Geogrid, Steel Plastic Geogrid For Reinforced Soil Retaining Wall System, and PP Biaxial Geogrid. Each type has its own unique properties and is suitable for different applications.

Preparing for Installation
Before you start installing the biaxial geogrid in a curved area, you need to do some prep work.
Site Inspection
The first thing you gotta do is inspect the site. Look for any obstacles, like rocks or tree roots, that could interfere with the installation. Make sure the area is relatively flat and free of debris. You'll also want to check the soil conditions. The soil should be compacted to a certain density to provide a stable base for the geogrid.
Measuring and Marking
Next, measure the curved area to determine how much geogrid you'll need. It's a good idea to add a little extra to account for any cutting or overlap. Once you've measured, mark the area where the geogrid will be installed. You can use stakes or spray paint to mark the boundaries.
Gathering Materials and Tools
You'll need a few tools and materials for the installation. You'll obviously need the biaxial geogrid itself. You'll also need some pins or staples to secure the geogrid to the soil. A utility knife will come in handy for cutting the geogrid to the right size. And don't forget a rake or a shovel to smooth out the soil and make sure it's level.
Installing the Biaxial Geogrid
Now that you're all prepped, it's time to start installing the geogrid.
Unrolling the Geogrid
Start by unrolling the geogrid along the marked area. Make sure it's aligned with the curve of the area. You may need to have a few people help you with this, especially if the area is large. As you unroll the geogrid, try to keep it as straight as possible.
Cutting the Geogrid
Once the geogrid is unrolled, you'll need to cut it to fit the curved area. Use a utility knife to make clean cuts. Make sure to leave some extra material at the edges for overlap.
Securing the Geogrid
After cutting the geogrid, it's time to secure it to the soil. Use pins or staples to hold the geogrid in place. Place the pins or staples at regular intervals along the edges and in the middle of the geogrid. Make sure they're driven deep enough into the soil to keep the geogrid from moving.
Overlapping the Geogrid
If you need to use multiple pieces of geogrid to cover the curved area, make sure to overlap the pieces. The overlap should be at least a few inches to ensure a strong connection. You can use pins or staples to secure the overlapping sections.
Finishing Up
Once the geogrid is installed, you'll need to do a few final steps.
Backfilling
After the geogrid is secured, you can start backfilling the area with soil. Use a rake or a shovel to spread the soil evenly over the geogrid. Make sure the soil is compacted to the right density. You may need to use a compactor to achieve the desired compaction.
Inspecting the Installation
Once the backfilling is done, inspect the installation to make sure everything looks good. Check for any loose pins or staples, and make sure the geogrid is still in place. If you notice any issues, make the necessary adjustments.
Tips for Installing in Curved Areas
Installing biaxial geogrid in a curved area can be a bit tricky, but with these tips, you'll be able to do it like a pro.
Use a Flexible Geogrid
When installing in a curved area, it's important to use a flexible geogrid. This will allow the geogrid to conform to the curve without cracking or breaking. Our PP Biaxial Geogrid is a great option for curved areas because it's very flexible.
Take Your Time
Installing geogrid in a curved area takes time and patience. Don't rush the process. Make sure you measure and mark the area accurately, and take your time when unrolling and cutting the geogrid.
Get Help
If you're installing the geogrid in a large or complex curved area, it's a good idea to get some help. Having a few extra hands can make the installation process much easier and faster.
Contact Us for Your Biaxial Geogrid Needs
If you're in the market for biaxial geogrids, we've got you covered. We offer a wide range of high-quality geogrids that are suitable for various applications, including curved areas. Whether you need the Steel-plastic Composite Geogrid, Steel Plastic Geogrid For Reinforced Soil Retaining Wall System, or PP Biaxial Geogrid, we can provide you with the right product for your project.
If you have any questions or need more information, don't hesitate to reach out. We're here to help you with all your biaxial geogrid needs.
References
- Geosynthetics Institute. (n.d.). Geogrid Installation Guidelines. Retrieved from various industry resources on geosynthetics installation.
- ASTM International. (20XX). Standards related to geogrid materials and installation.


